ChatGLM3-6B本地部署及微调-部署
1、购买算力服务器
AutoDL:https://www.autodl.com/
该云服务器还是很适合我这种穷人的,很多配置(如CUDA)都帮你装好了,不需要你自己去花费很多时间安装,4090两块多一小时
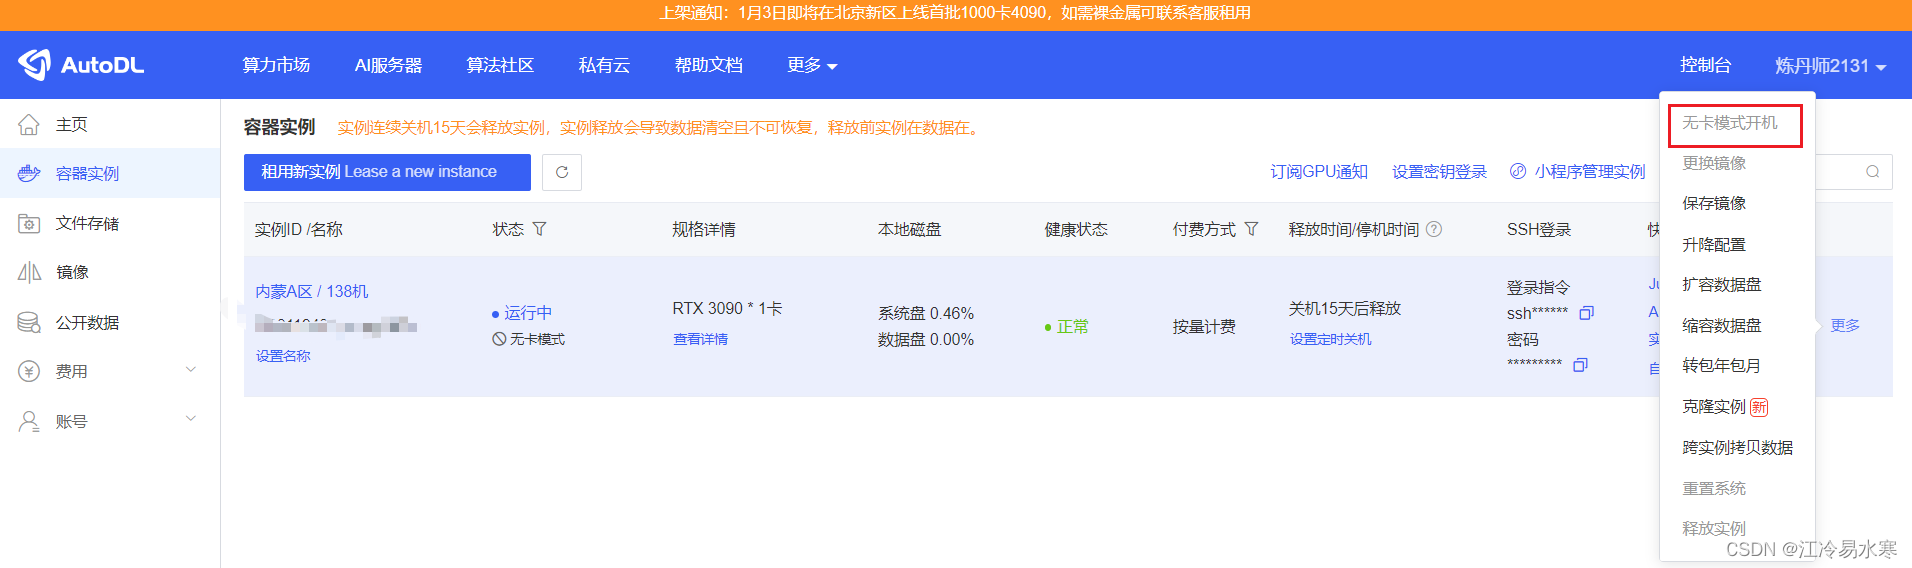
2、先无卡模式登录安装配置环境
3、配置环境
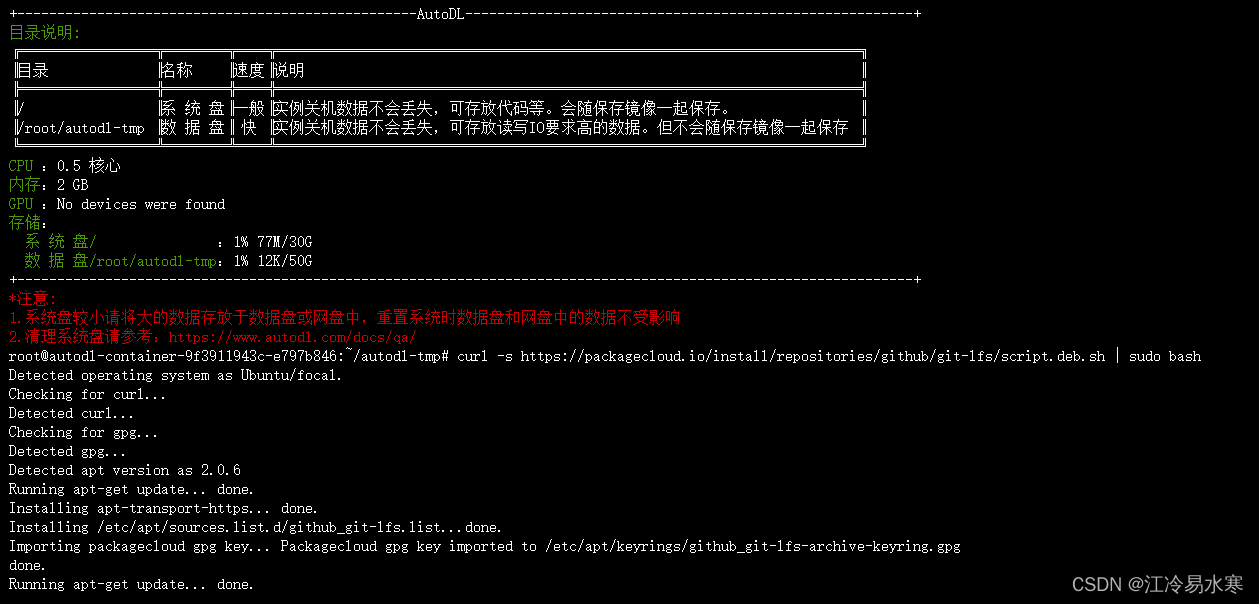
① 安装git lfs
命令:curl -s https://packagecloud.io/install/repositories/github/git-lfs/script.deb.sh | sudo bash
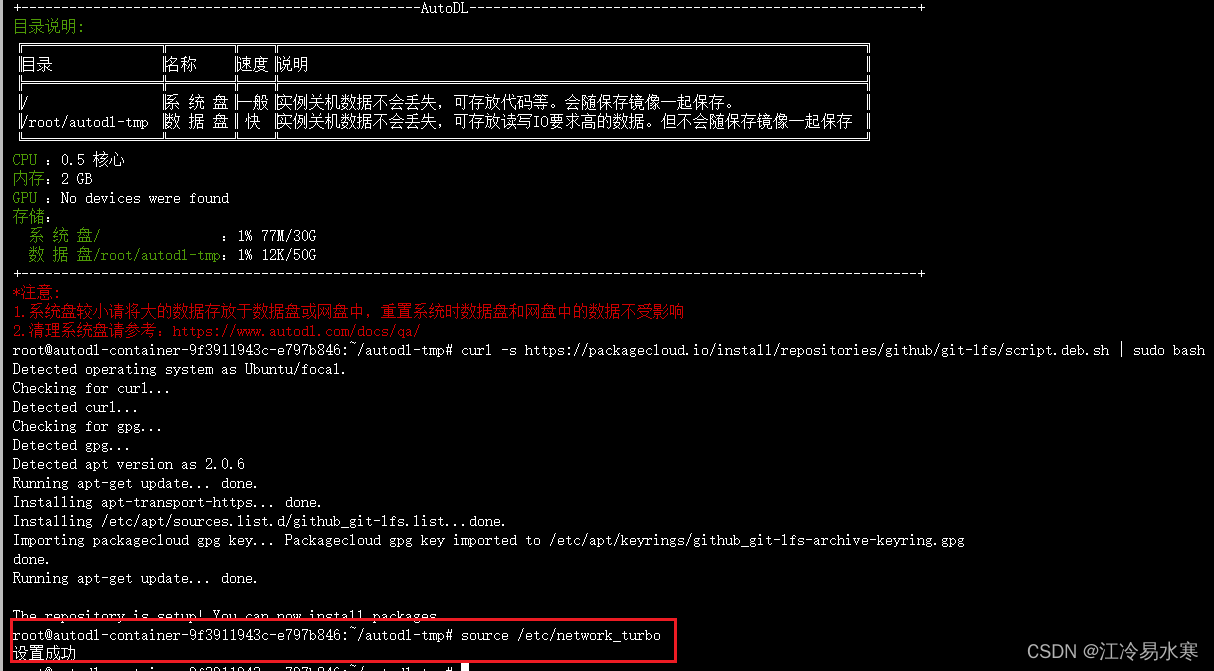
② 设置学术加速 | 下载东西更快
命令:source /etc/network_turbo

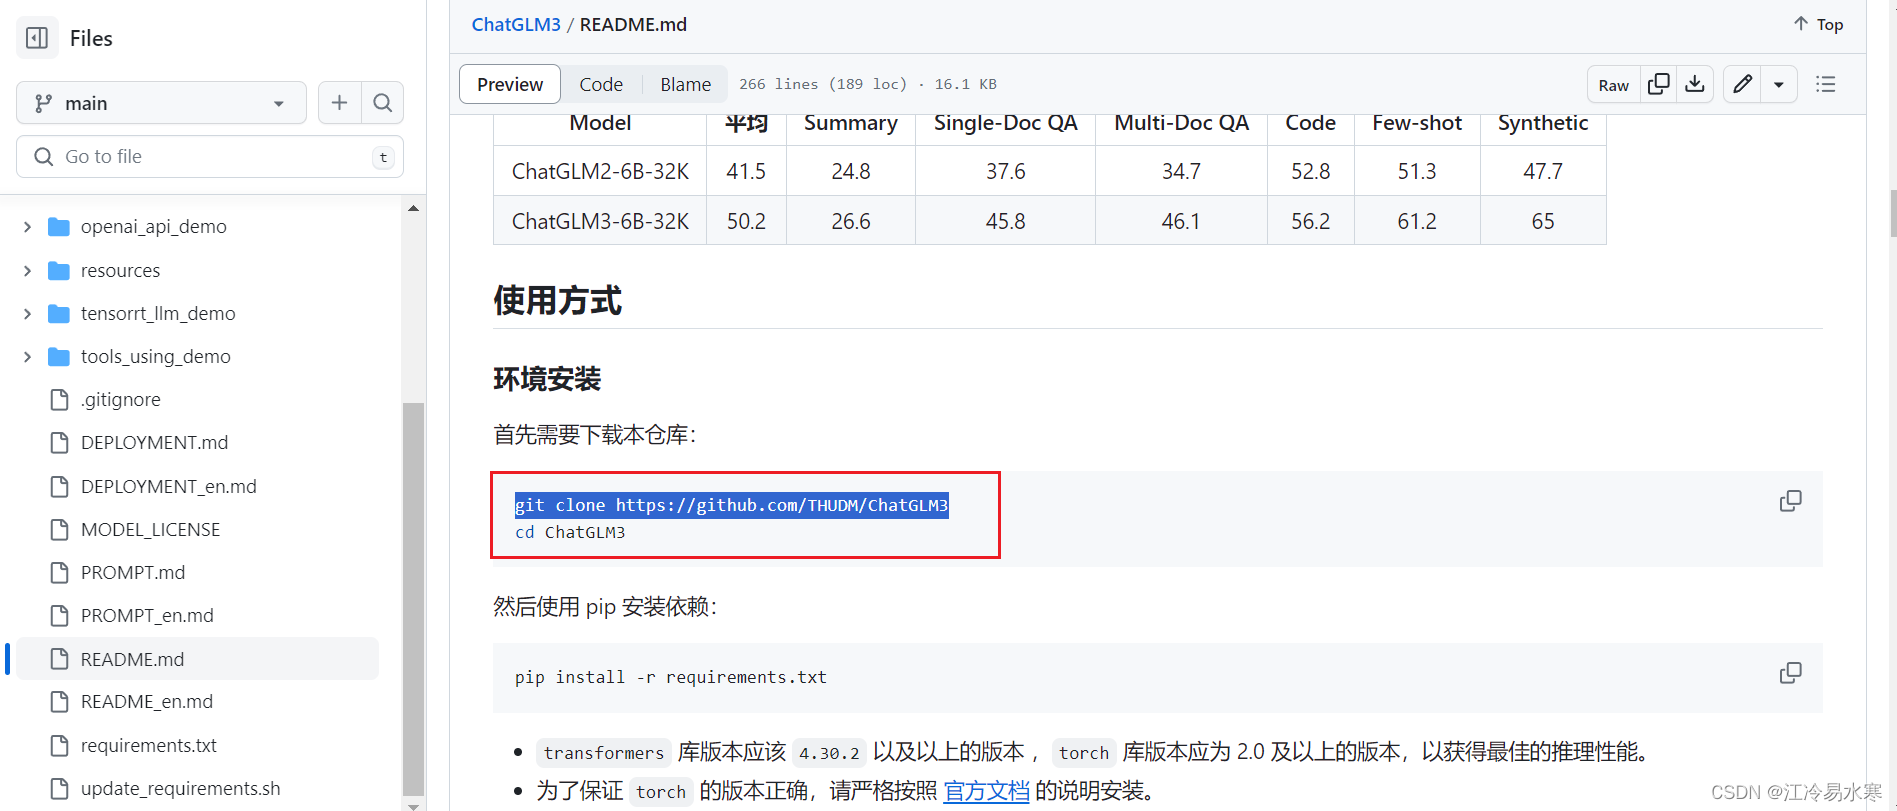
命令:git clone https://github.com/THUDM/ChatGLM3
④ 进入ChatGLM3目录安装 requirements.txt 内的库(安装前最好先升级一下pip)
升级pip命令:python -m pip install --upgrade pip
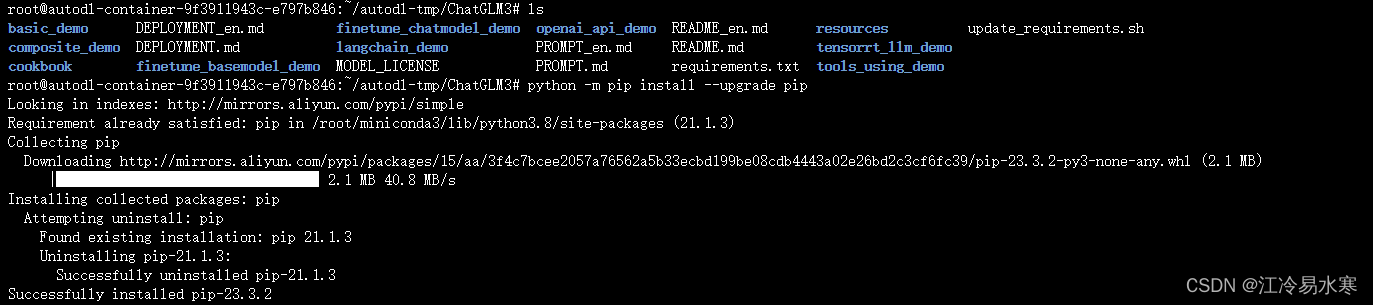
然后使用 pip 安装依赖:pip install -r requirements.txt

4、克隆Hugging Face代码仓
① 安装git-lfs:curl -s https://packagecloud.io/install/repositories/github/git-lfs/script.deb.sh | sudo bash
② 检查lfs是否安装:命令:git lfs install
③ 下载本地模型 Hugging Face:https://huggingface.co/THUDM/chatglm3-6b
命令:git clone https://huggingface.co/THUDM/chatglm3-6b (网速慢的话可以参考官方其他方法下载)
④ 如果下载报错443需要再设置学术加速(设置代理):source /etc/network_turbo
⑤ 访问huggingface.co连接超时:更换实例地区,推荐芜湖
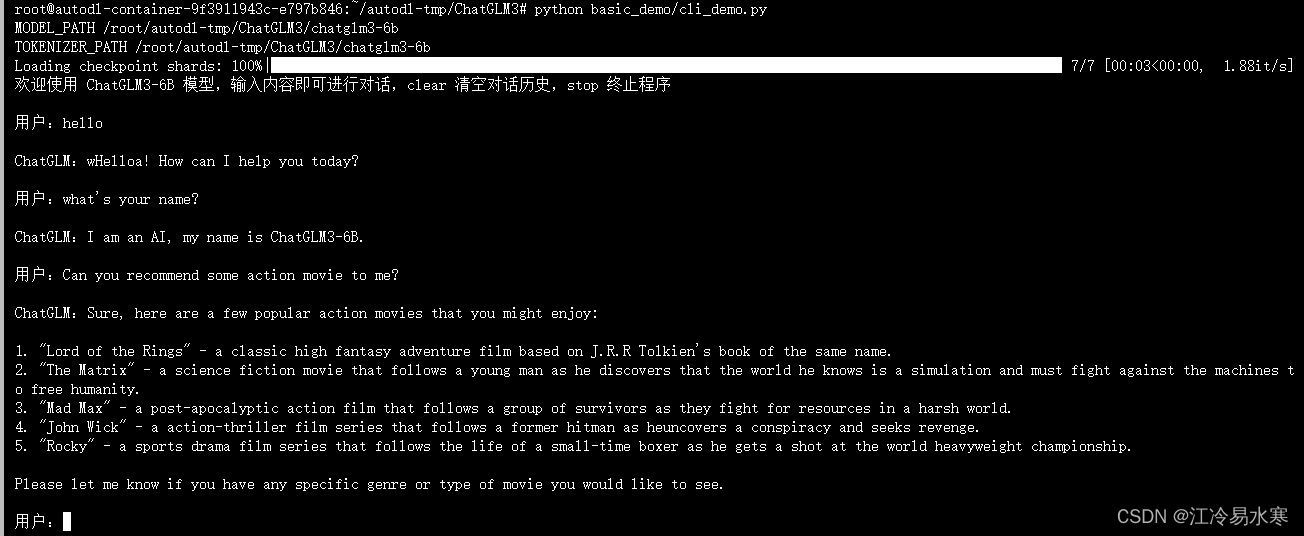
5、有卡模式重写启动服务器,最终呈现:
提示:整个过程中会用到两个代码仓github与huggingface,github上的仓库是存放chatglm3-6b的运行代码的,而huggingface的代码仓中是存放运行所需的模型及模型相关配置文件的。
更简单的部署方法:
实例镜像选择社区镜像:搜索ChatGLM3-6b,选择下图镜像(若需要微调可以使用图中第三个镜像)

部署命令操作:CodeWithGPU | 能复现才是好算法
相关报错信息及解决方法:
1、报错信息:RuntimeError: Internal: src/sentencepiece_processor.cc(1101) [model_proto->ParseFromArray
原因:下载的模型有缺失或损坏
解决方法:建议不要使用wget而是使用git下载模型
2、对话时报错:RuntimeError: "addmm_impl_cpu_" not implemented for 'Half
原因:cuda 环境问题
解决方法:修改torch版本:pip install torch==2.0.1