搭建企业级镜像仓库Harbor
1、环境准备:
centos7
docker-ce-19.03.5
docker-compose version 1.25.4, build 8d51620a
harbor-v1.8.0
2、安装docker :
官方安装文档:https://docs.docker.com/install/linux/docker-ce/centos/
3、安装docker-compose:
官方安装文档:https://docs.docker.com/compose/install/
4、安装Harbor
1、下载安装包
# wget https://storage.googleapis.com/harbor-releases/release-1.8.0/harbor-offline-installer-v1.8.1.tgz

2、解压并修改配置文件
# tar -zxvf harbor-offline-installer-v1.8.1.tgz -C /var/data/harbor
# cd /var/data/harbor

150服务器上修改harbor.yml
# vim harbor.yml
hostname: 192.168.0.150

160服务器上修改harbor.yml
# vim harbor.yml
hostname: 192.168.0.160

3、执行安装脚本
# ./install.sh

✔ ----Harbor has been installed and started successfully.----   #看到这一行就表示成功了

Now you should be able to visit the admin portal at http://192.168.0.150.
For more details, please visit https://github.com/goharbor/harbor .

4、启动和停止
# docker-compose up -d  #启动
# docker-compose down  #停止
5、访问服务
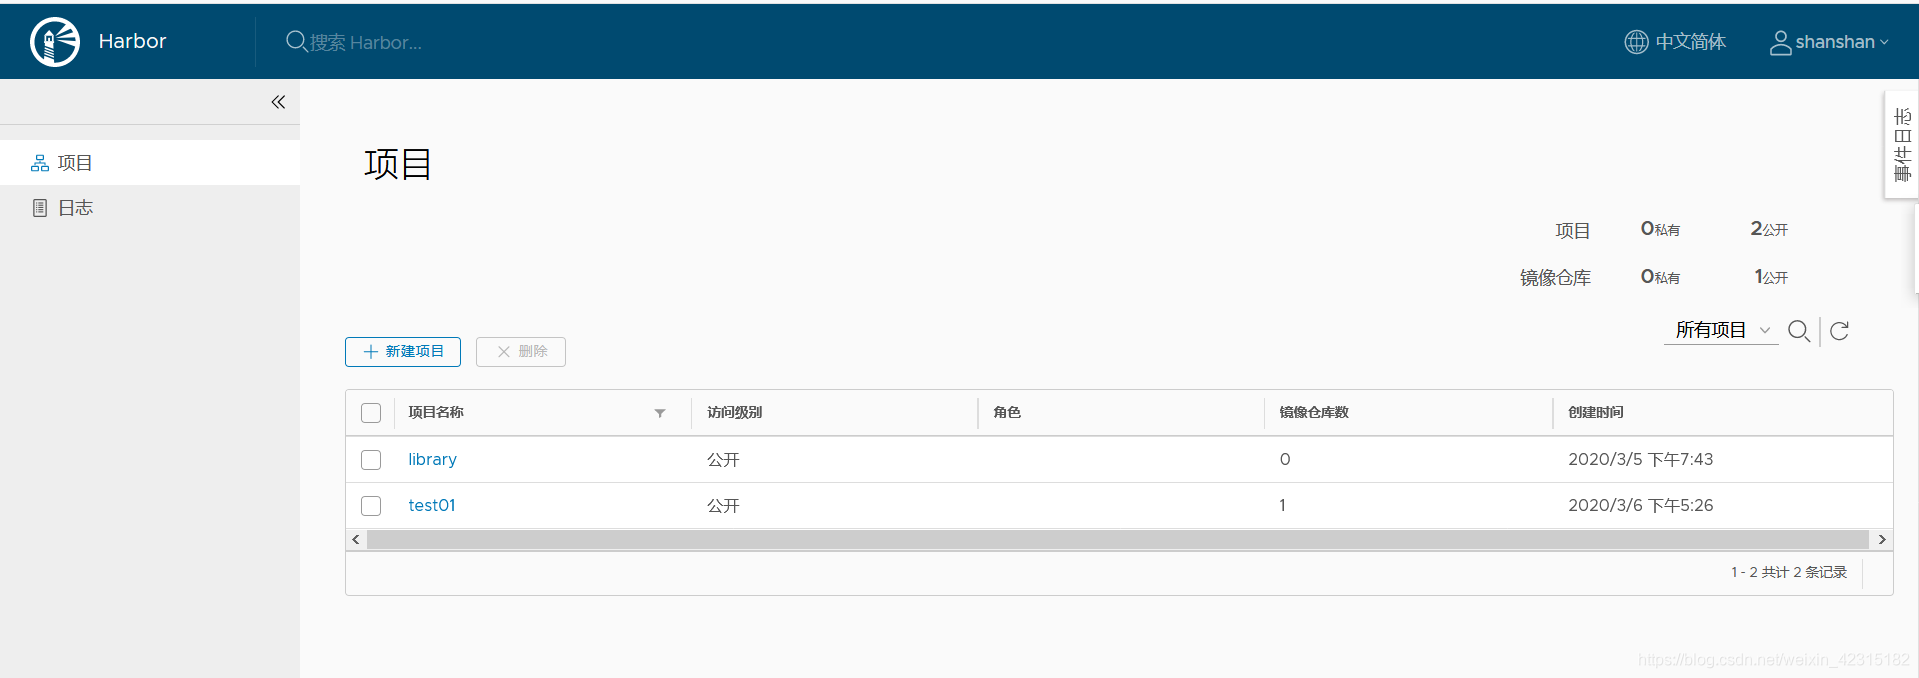
浏览器输入:http://192.168.0.150/harbor/users
#用户名密码查看harbory.yml文件
用户名:admin
密码:Harbor12345
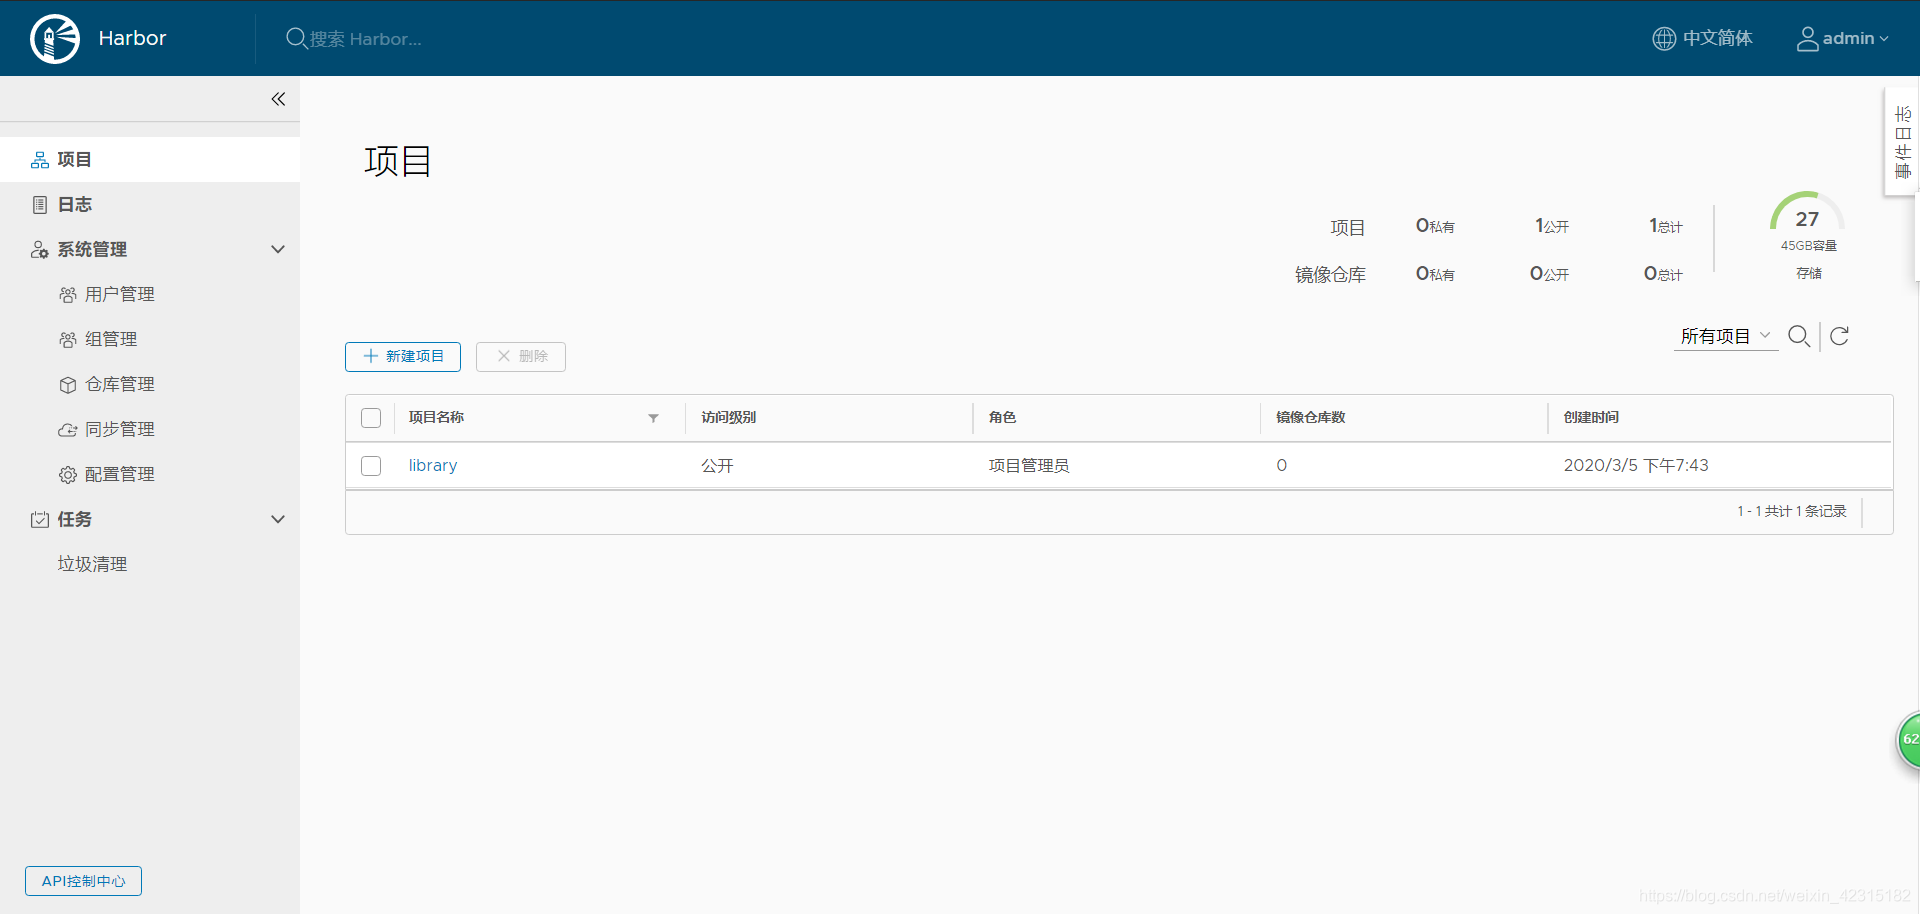
到此服务安装完成。
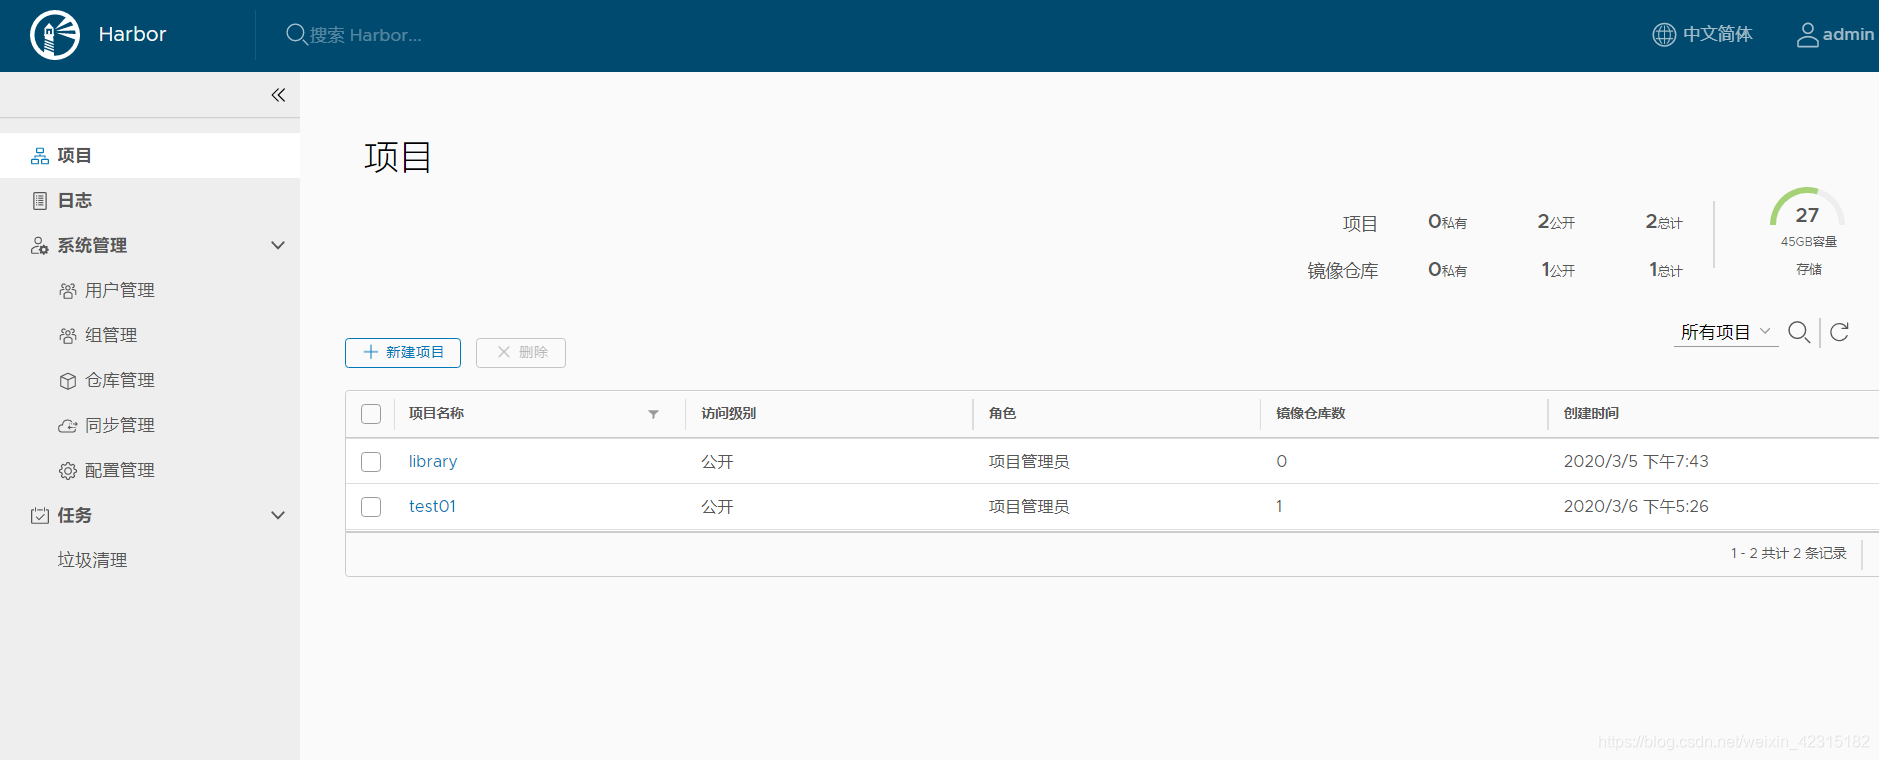
6、验证镜像上传
修改docker文件并重启服务
#修改配置文件并重启服务
[root@k8s-master harbor]# cat /etc/docker/daemon.json
{
"insecure-registries": ["http://192.168.0.150"]
}
[root@k8s-master harbor]# systemctl reload docker
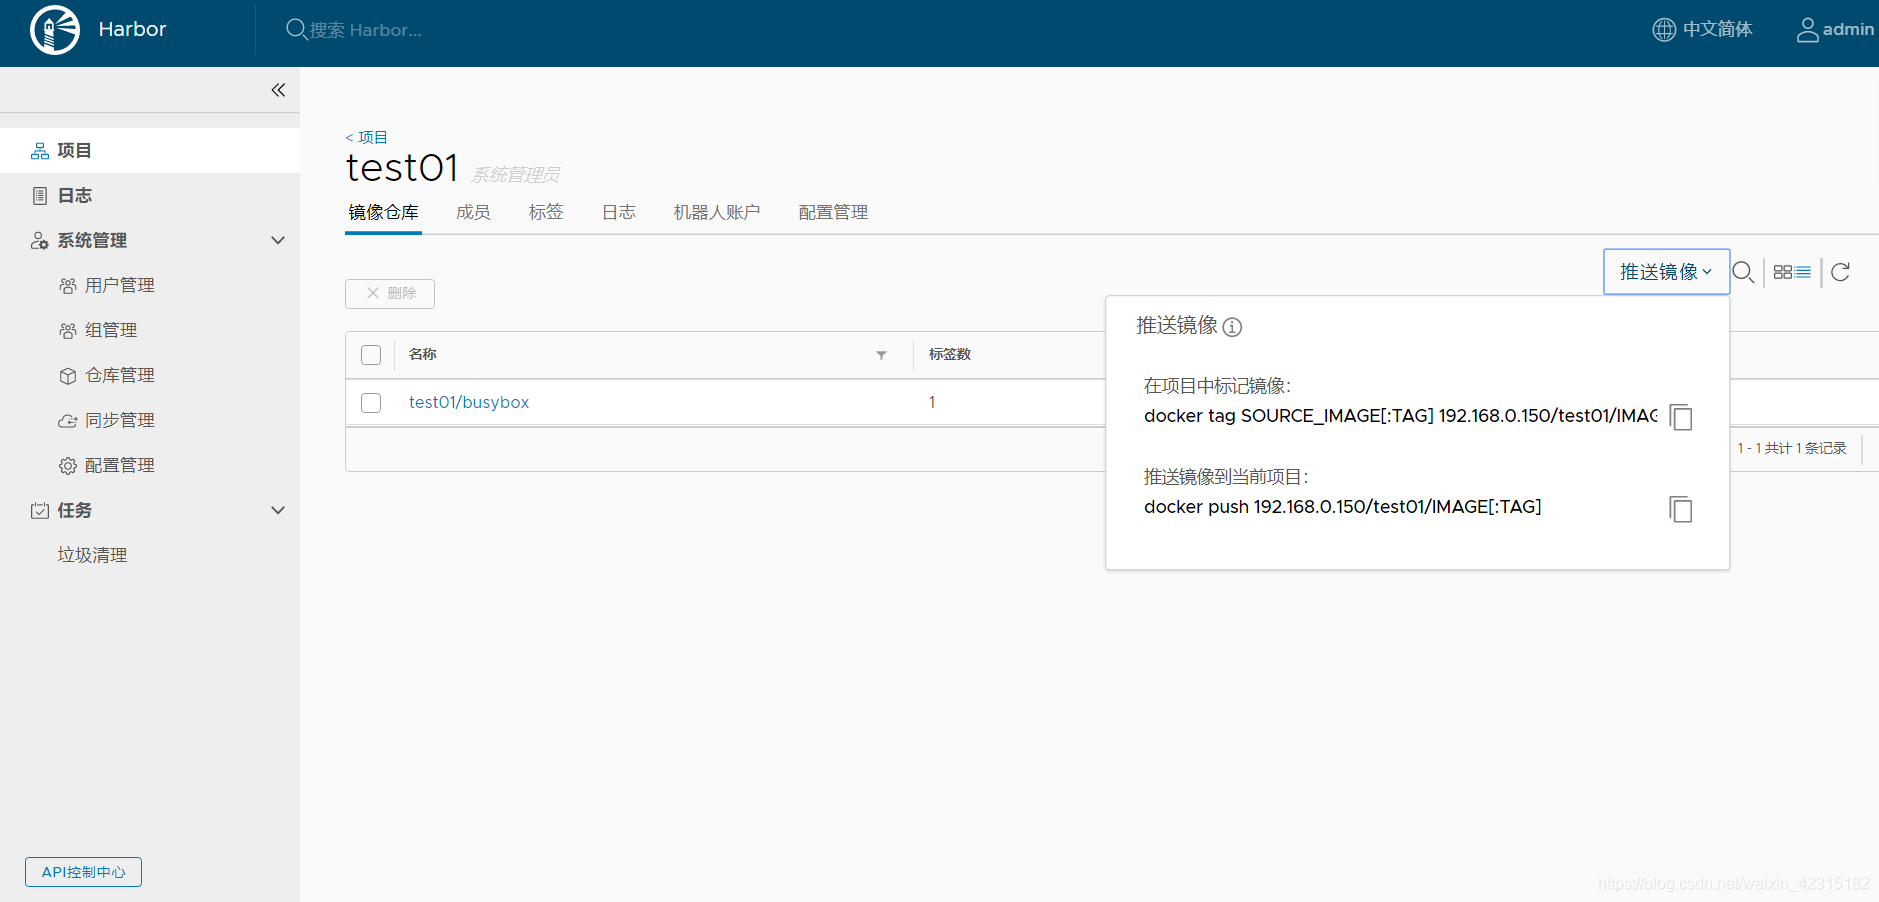
#镜像打标签
[root@k8s-master harbor]# docker tag busybox:latest 192.168.0.150/test01/busybox:latest
#登录仓库
[root@k8s-master harbor]# docker login http://192.168.0.150
Username: admin
Password:
WARNING! Your password will be stored unencrypted in /root/.docker/config.json.
Configure a credential helper to remove this warning. See
https://docs.docker.com/engine/reference/commandline/login/#credentials-store
Login Succeeded
#上传镜像
[root@k8s-master harbor]# docker push 192.168.0.150/test01/busybox:latest
The push refers to repository [192.168.0.150/test01/busybox]
195be5f8be1d: Pushed
latest: digest: sha256:edafc0a0fb057813850d1ba44014914ca02d671ae247107ca70c94db686e7de6 size: 527
#删除镜像
[root@k8s-master harbor]# docker rmi 192.168.0.150/test01/busybox:latest
Untagged: 192.168.0.150/test01/busybox:latest
Untagged: 192.168.0.150/test01/busybox@sha256:edafc0a0fb057813850d1ba44014914ca02d671ae247107ca70c94db686e7de6
#测试下载仓库镜像
[root@k8s-master harbor]# docker pull 192.168.0.150/test01/busybox:latest
latest: Pulling from test01/busybox
Digest: sha256:edafc0a0fb057813850d1ba44014914ca02d671ae247107ca70c94db686e7de6
Status: Downloaded newer image for 192.168.0.150/test01/busybox:latest
192.168.0.150/test01/busybox:latest
查看
配置LDAP
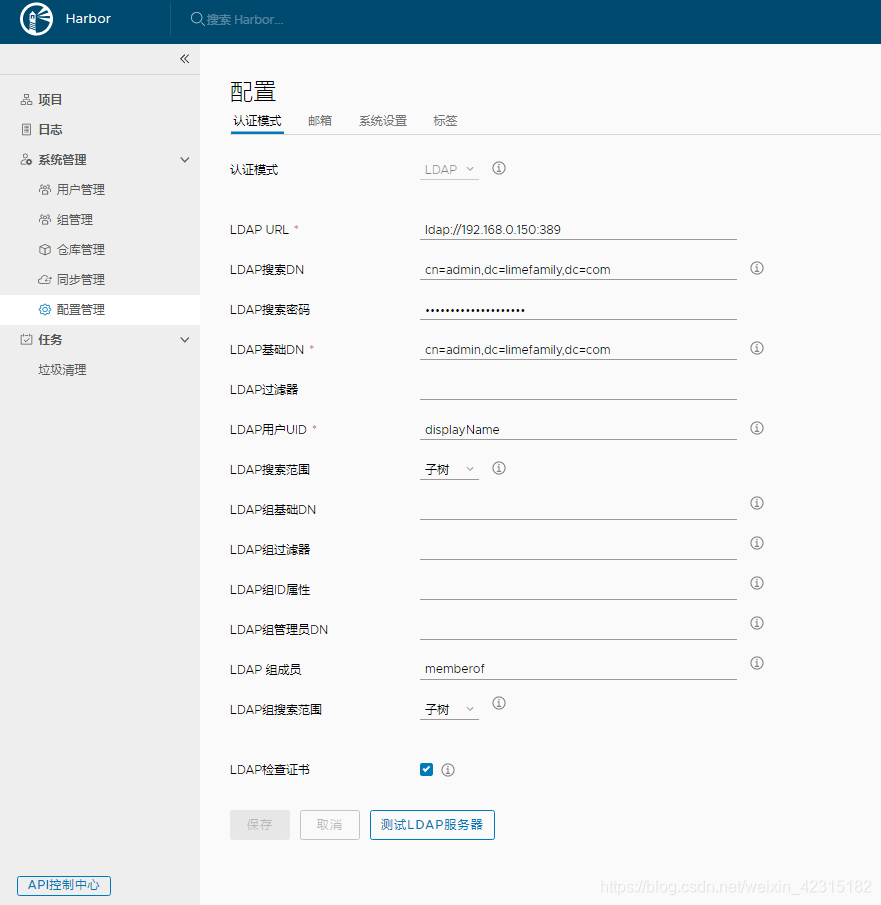
填写完成以后保存,点击测试服务,测试ldap用户登录
到此ldap用户可以正常登录,用户第一次登录以后用户信息就会被写入数据库
邮箱配置:
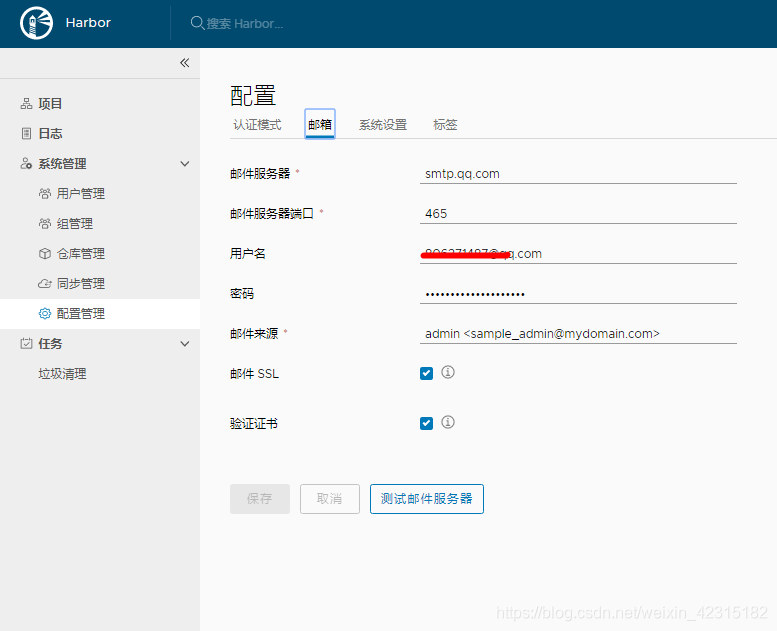
我用的是QQ邮箱,如何设置就不在赘述。