Elsevier(爱思唯尔)LaTex 模板详细说明
文章目录
Elsevier 模板的使用
1. 通用模板使用说明
1.1 文件说明
1.2 模板说明
2. 复杂版式模板使用说明
2.1 文件说明
2.2 模板说明
2.3 其他修改
2.4 常见报错解决
先放出本文的核心产出:
通用模板,无报错可直接编译:https://github.com/yaoyz96/elsarticle
复杂版式模板,无报错可直接编译:https://github.com/yaoyz96/els-cas-templates
以上模板已经过修改,可以直接运行,替换自己需要的内容即可。
Elsevier 模板的使用
-
官方指南:Latex Instructions
-
通用 Elsevier 模板下载地址:elsarticle-template.zip
-
复杂版式 Elsevier 模板下载地址:
官方的介绍中包含了一些链接,其中:
【1】从 CTAN 下载的模板文件就是本文最开始提供的 通用 Elsevier 模板 elsarticle-template.zip(https://www.elsevier.com/__data/assets/file/0007/56842/elsarticle-template.zip)(顺便说一句,第 1 段话的第 3 个可点击链接 “here” 内容其实也是完全一样的,只是压缩包名称不同)。
【2】elsarticle documentation 则是 elsarticel.cls 类文件的说明文档,一些细节都可以从中查看。从文档中可以看到,elsarticle.cls 类文件基于 article.cls 类文件构建,且作者不需要下载额外的 package 来支持 elsarticle.cls 的使用。【3】els-cas-template.zip 则是 Elsevier 提供的 复杂版式模板,相比通用模板,这个模板和最终发表文章的排版大体相同。
-
1. 通用模板使用说明
1.1 文件说明
-
Elsevier 通用模板 elsarticle-template.zip 包含以下文件:
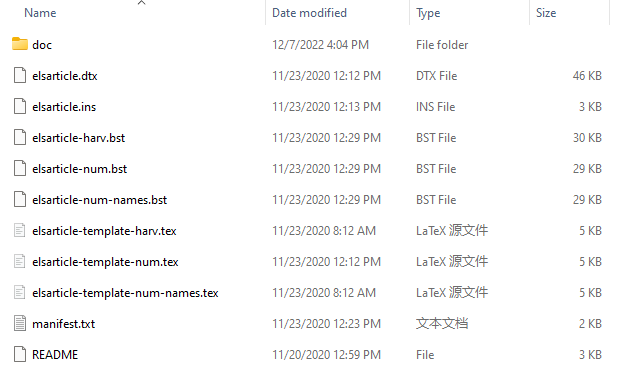
- 通用模板使用 elsarticle 文档类,elsarticle 文档类的类文件 elsarticle.cls 同默认文档类型 article 一样,已经内置在了 TeX 系统里,不需要额外下载。在 .tex 文件的控制序列 documentclass 中,直接使用 elsarticle 即可。
上面的文件中,在 manifest.txt 中包含了对文件作用的说明。主要的 .tex 文件有 3 个:
elsarticle-template-harv.tex
elsarticle-template-num.tex
elsarticle-template-num-names.tex
这三个 .tex 其他都完全一样,唯一的区别是参考文献的排版格式,对应三个不同的 .bst 文件(这里知道 .bst 文件是用于指定参考文献排列方式的就行了)。elsarticle-harv.bst:bibliographic style for author-year citation
elsarticle-num.bst:bibliographic style for numbered citation
elsarticle-num-names.bst:bibliographic style for numbered citation + new natbib options
在实际使用的时候,根据自己需要任选一个 .tex 使用即可。1.2 模板说明
这里以 elsarticle-template-num.tex 为例说明:【1】文档类设置:
# 指定 elsarticle 文档类,字体大小为 12pt
\documentclass[preprint,12pt]{elsarticle}模板中给出了参数设置说明,包括 preprint、final、review、twocolumn 等。
若要排版为双倍行距,可以使用 review:
\documentclass[preprint,review,12pt]{elsarticle}
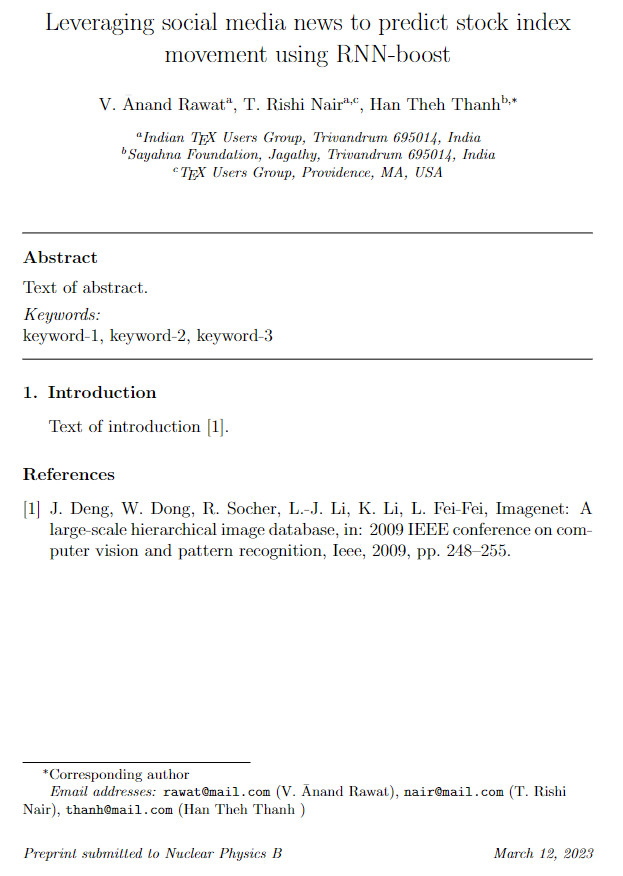
【2】作者信息: \author[number] 中 number 对应 \address 编号,\ead{email} 中填写作者的邮箱。通讯作者直接在 \author[number]{name} 花括号内 name 后面加上 \corref{cor1},并使用 \cortext[cor1]{Corresponding author} 进行通信作者的说明。# 填写好的例子: \author[1]{V. {{\=A}}nand Rawat} \ead{rawat@mail.com} \author[1,3]{T. Rishi Nair} \ead{nair@mail.com} \author[2]{Han Theh Thanh \corref{cor1}} # 通信作者 \ead{thanh@mail.com} \address[1]{Indian \TeX{} Users Group, Trivandrum 695014, India} \address[2]{Sayahna Foundation, Jagathy, Trivandrum 695014, India} \address[3]{\TeX{} Users Group, Providence, MA, USA} \cortext[cor1]{Corresponding author}【3】参考文献: 参考文献使用 bib 文件,注释掉模板中原本给出的:
% \begin{thebibliography}{00}
% \bibitem{label}
% Text of bibliographic item
% \bibitem{}
% \end{thebibliography}
使用下面的代码:\bibliographystyle{elsarticle-num} # 这里不用改,对应的是elsarticle-num.bst文件 \bibliography{ref} # 填写.bib文件的文件名注意参考文献一定要修改并添加引用之后再编译,否则会报错。
-
下面是修改之后的编译结果:
修改之后的模板,无报错可直接编译,下载地址:GitHub - yaoyz96/elsarticle: Elsevier template 'elsarticle'.
如果要使用双栏排版,仅修改一下
documentclass设置即可,这里给出一个双栏设置: -
\documentclass[preprint,5p,times,twocolumn]{elsarticle}
2. 复杂版式模板使用说明
官方指南文件:Elsarticle - CAS
2.1 文件说明
该模板包含单独的
.cls文件,其中cas-sc文档类是单栏模板,cas-dc文档类是双栏模板,它们分别对应类文件cas-sc.cls和cas-dc.cls。\documentclass[a4paper,fleqn]{cas-sc} % 单栏 \documentclass[a4paper,fleqn]{cas-dc} % 双栏该模板包含以下文件:
-
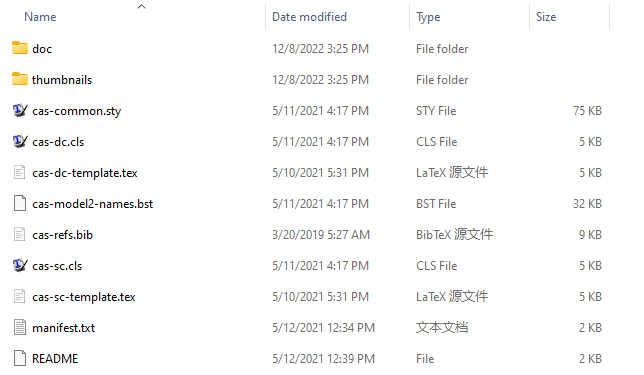
在 manifest.txt 中包含了对文件作用的说明。其中主 .tex 文件有 2 个:
cas-sc-template.tex:单栏 tex 模板,对应 cas-sc.cls 类文件
cas-dc-template.tex:双栏 tex 模板,对应 cas-dc.cls 类文件
这个模板的参考文献样式文件只有 cas-model2-names.bst。在 doc 文件夹下有单双栏模板的效果示例:sc-sample.pdf 和 dc-sample.pdf;elsdoc-cas.pdf 为类文件的说明信息。2.2 模板说明
这里以 cas-dc-template.tex 为例说明:【1】文档类设置:
\documentclass[a4paper,fleqn]{cas-dc} # 默认设置:页面A4,行间公式居左【2】参考文献: 参考文献排版格式(三选一)
-
\usepackage[numbers]{natbib}
%\usepackage[authoryear]{natbib}
%\usepackage[authoryear,longnamesfirst]{natbib}
注意参考文献一定要修改并添加引用之后再编译,否则会报错。
-
【3】题目:
title的花括号内填写论文题目。Short title和Short author是显示在页眉和页脚的信息,如果不需要可以直接注释掉 -
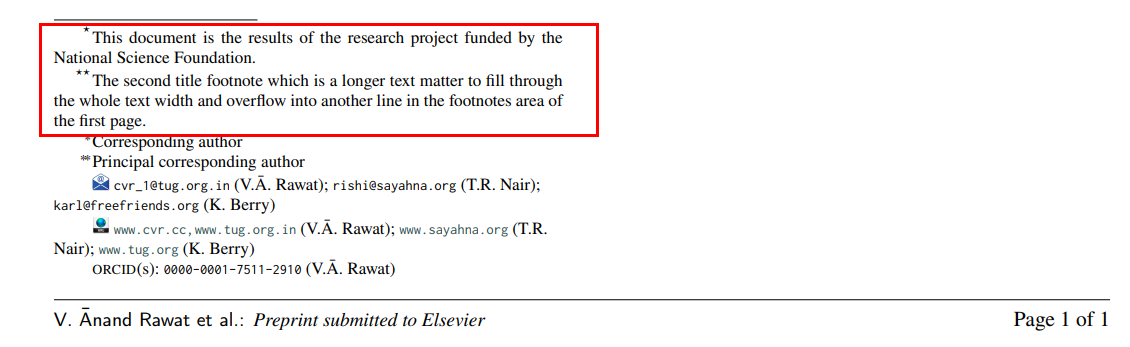
% Short title
\shorttitle{<short title of the paper for running head>} # 一般直接写文章title

% Short author
\shortauthors{<short author list for running head>}  # XXX et al.

% Main title of the paper
\title [mode = title]{<main title>}

# 一个填写好的例子:
\shorttitle{Leveraging social media news to predict stock index movement using RNN-boost}  # 显示在第二页之后的页眉
\shortauthors{V. {{\=A}}nand Rawat et al.}  # 显示在页面下方
\title[mode = title]{Leveraging social media news to predict stock index movement using RNN-boost}
【4】题目脚注: 若不需要可以直接注释掉
-
% Title footnote mark
% eg: \tnotemark[1]
\tnotemark[<tnote number>]

% Title footnote 1.
% eg: \tnotetext[1]{Title footnote text}
\tnotetext[<tnote number>]{<tnote text>}

# 一个填写好的例子:
\tnotemark[1,2]
\tnotetext[1]{This document is the results of the research project funded by the National Science Foundation.}
\tnotetext[2]{The second title footnote which is a longer text matter to fill through the whole text width and overflow into another line in the footnotes area of the first page.}
在论文中效果显示如下:
-
【5】作者信息:
作者信息 \author 一般只会用到机构编号 [<aff no>] 和作者姓名 {<author name>},[options] 可填可不填
\cormark[<corr mark no>] 用于标注通信作者(*),对应的 \cortext[<corr mark no>]{} 会将花括号的内容显示在页脚
\fnmark[<footnote mark no>] 用于标注作者顺序,不常用
\ead{<email address>} 用于填写作者邮箱
\ead[url]{<URL>} 用于填写作者个人网站,不常用
\credit{<Credit authorship details>} 用于标注作者贡献,有些期刊会要求写明这部分内容
\affiliation 不常用,一般用 \address 写明作者机构
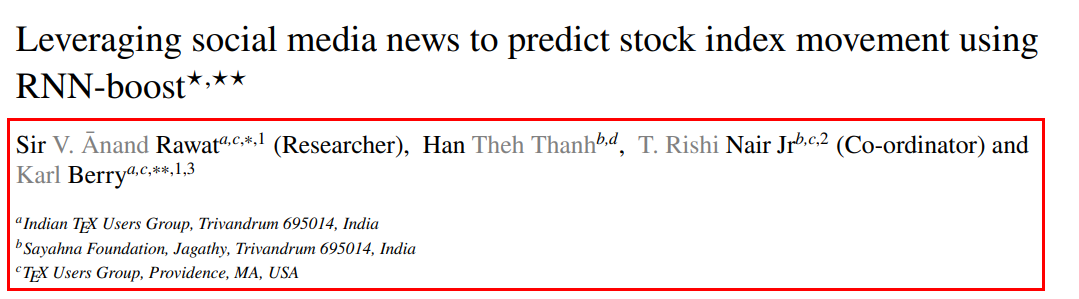
\author[<aff no>]{<author name>}[<options>]

% Corresponding author indication
\cormark[<corr mark no>]

% Footnote of the first author
\fnmark[<footnote mark no>]

% Email id of the first author
\ead{<email address>}

% URL of the first author
\ead[url]{<URL>}

% Credit authorship
% eg: \credit{Conceptualization of this study, Methodology, Software}
\credit{<Credit authorship details>}

% Address/affiliation
\affiliation[<aff no>]{organization={},
            addressline={},
            city={},
%          citysep={}, % Uncomment if no comma needed between city and postcode
            postcode={},
            state={},
            country={}}
% Corresponding author text
% \cortext[1]{Corresponding author}

# 一个填写好的例子:
\author[1,3]{V. {{\=A}}nand Rawat}[type=editor,
    auid=000,bioid=1,
    prefix=Sir,
    role=Researcher,
    orcid=0000-0001-7511-2910]
\cormark[1]
\fnmark[1]
\ead{cvr_1@tug.org.in}
\ead[url]{www.cvr.cc,www.tug.org.in}
\credit{Conceptualization of this study, Methodology, Software}

\author[2,4]{Han Theh Thanh}[style=chinese]

\author[2,3]{T. Rishi Nair}[role=Co-ordinator, suffix=Jr]
\fnmark[2]
\ead{rishi@sayahna.org}
\ead[URL]{www.sayahna.org}
\credit{Data curation, Writing - Original draft preparation}

\author[1,3]{Karl Berry}
\cormark[2]
\fnmark[1,3]
\ead{karl@freefriends.org}
\ead[URL]{www.tug.org}

\address[1]{Indian \TeX{} Users Group, Trivandrum 695014, India}
\address[2]{Sayahna Foundation, Jagathy, Trivandrum 695014, India}
\address[3]{\TeX{} Users Group, Providence, MA, USA}

\cortext[1]{Corresponding author}
\cortext[2]{Principal corresponding author}
在论文中效果显示如下:
-
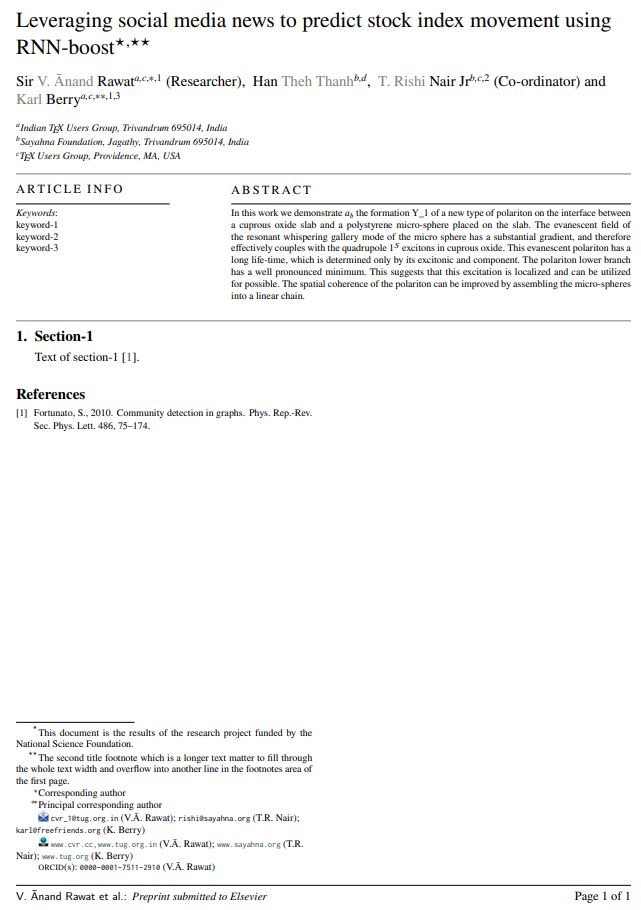
下面是双栏模板修改之后的编译结果:
-
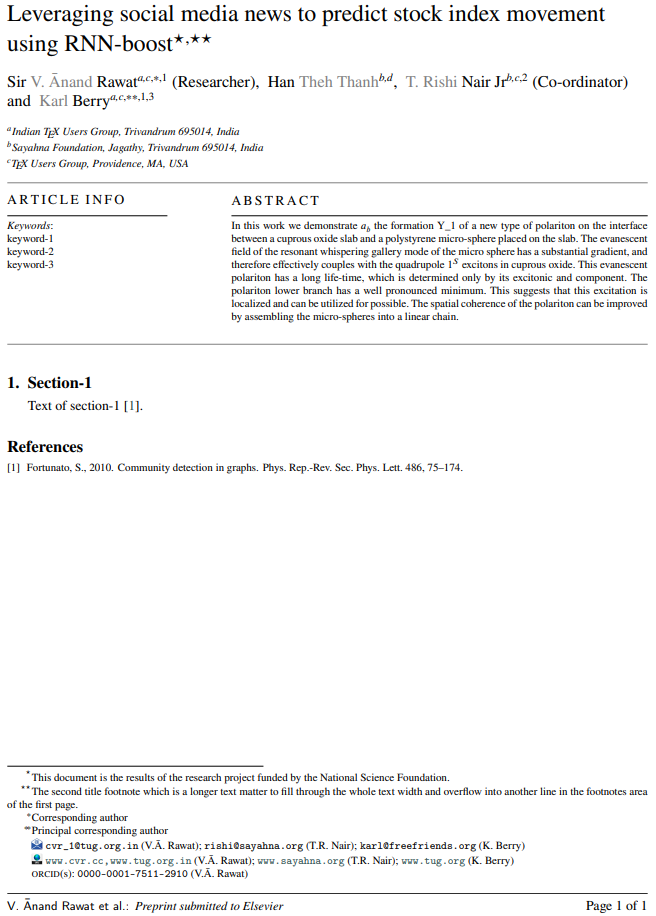
单栏模板也是同样的改法,下面是单栏模板修改之后的编译结果:
-
修改之后的单/双栏模板,无报错可直接编译,下载地址:https://github.com/yaoyz96/els-cas-templates
在 官方指南文件 中也给出了详细的可编译示例,并解释了每个控制序列的作用,可以参考。
2.3 其他修改
【1】若要去掉页脚的
ORCID(s):在下面这段代码最后添加\let\printorcid\relax\begin{document} \let\WriteBookmarks\relax \def\floatpagepagefraction{1} \def\textpagefraction{.001} \let\printorcid\relax % 可去掉页面下方的ORCID(s)【2】将图片标题由
Figure 1:变为Fig. 1.:在导言区使用: -
\usepackage{caption}
\captionsetup[figure]{labelfont={bf}, labelformat={default}, labelsep=period, name={Fig.}}
其中,
labelsep=period表示用英文句号分隔。 -
修改
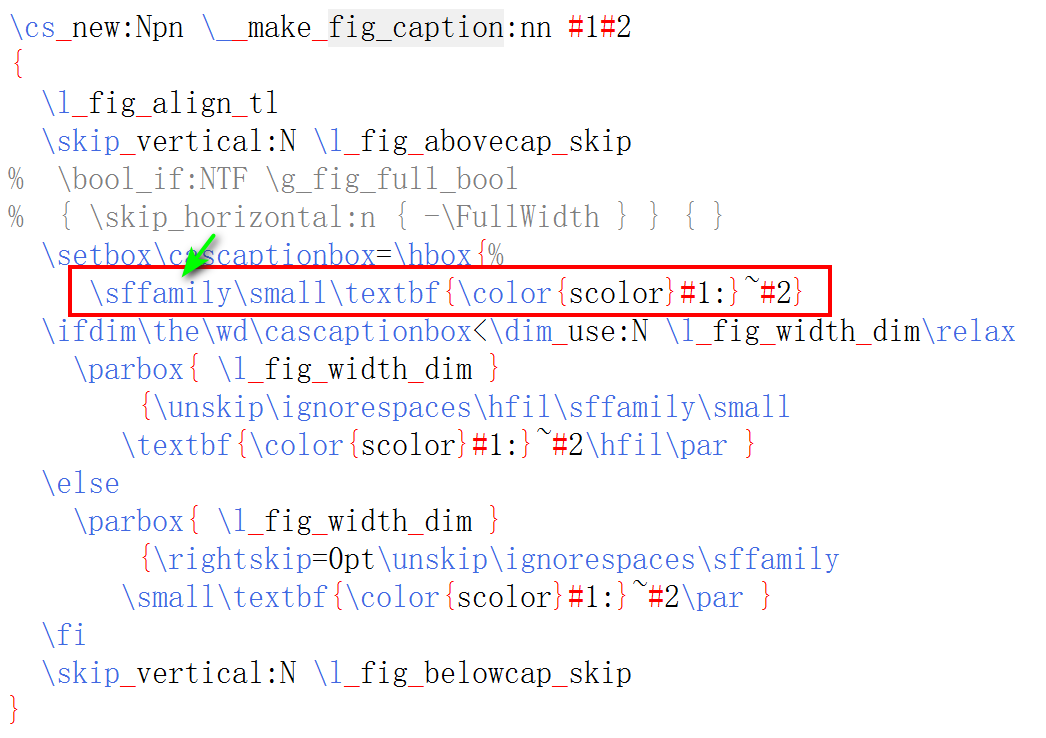
cas-common.sty文件:搜索fig_caption,将下面三个:替换为.即可。 -
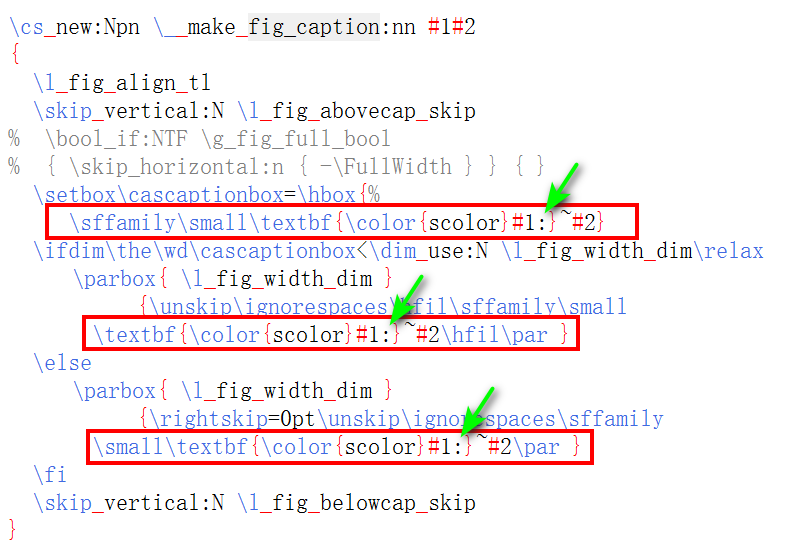
【3】修改图/表格caption字体为Time New Roman
模板默认的图片/表格caption字体为字体族
\sffamily,搜索关键字fig_caption和tbl_caption,将有关的\sffamily改为\rmfamily。 -
2.4 常见报错解决
【1】本地编译
cas-sc-template.tex和cas-dc-template.tex报错: -
LaTeX3: The key 'stm/author/<options>' is unknown and is being
(LaTeX3)	ignored.
这个错误的主要原因是 模板中的作者信息没有填写完整,填写完整即可。